SSH For IoT Devices: Ubuntu, Windows & More - Ultimate Guide
Are you ready to unlock the full potential of your Internet of Things (IoT) devices, accessing and managing them securely from anywhere in the world? The ability to remotely control and monitor your IoT devices using Secure Shell (SSH) is no longer a luxury, but a fundamental necessity for modern tech enthusiasts and professionals, providing unparalleled flexibility and control.
This comprehensive exploration will delve into the practical aspects of utilizing SSH for remote access to your IoT devices. We'll navigate the often-complex landscape of remote access, focusing on the popular and versatile platforms of Raspberry Pi, Ubuntu, and Windows. Whether you're a seasoned developer, a hobbyist, or simply curious about expanding your technical horizons, this guide will provide you with the knowledge and tools necessary to establish secure and efficient SSH connections to your IoT devices, regardless of their physical location.
Let's begin by addressing a common challenge. The search query, "How to use SSH IoT from anywhere Ubuntu Windows free," highlights a key need. Many users are looking for a straightforward, cost-effective method to remotely access their IoT devices. While some tools offer paid solutions, there are numerous free and open-source options available, and this article will illuminate some of the most effective strategies. Remember, the goal is to create a secure tunnel into your devices so that you may manage them from any corner of the globe.
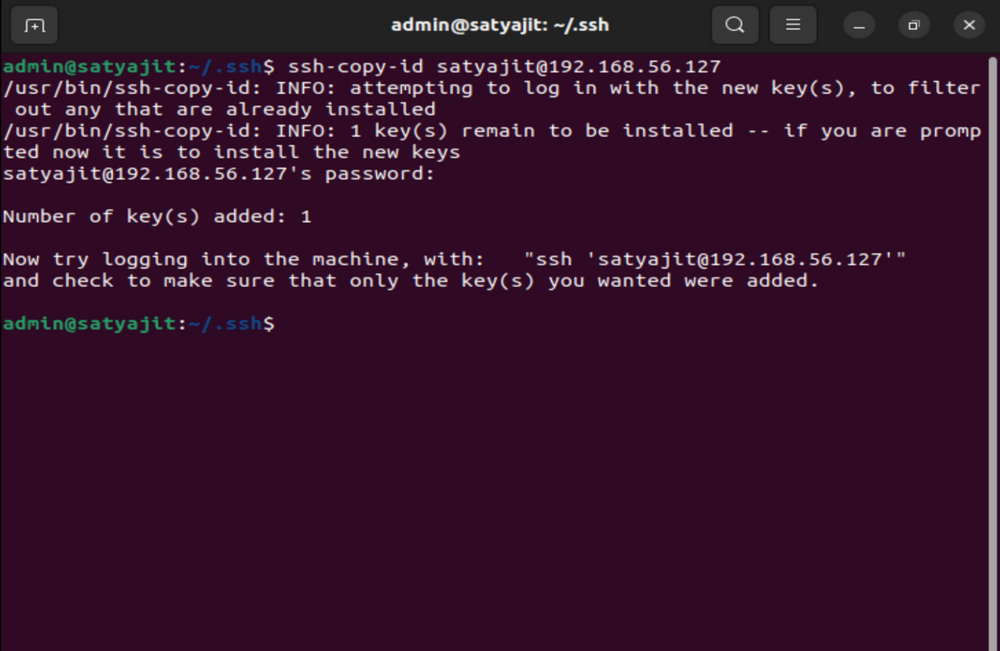
A critical component of successful remote access is understanding SSH key pairs. Before granting remote access, you will need to generate an SSH key pair. This involves creating a private key, which you keep secure on your local machine, and a public key, which you will upload to your target device (e.g., your Raspberry Pi or Ubuntu server). Think of the private key as your personal key, unlocking the door to your devices. The public key is like a lock that only your private key can open. Once uploaded, only the user with the corresponding private key will be able to establish a connection.
The following example, uses the popular OpenSSH's SSH client, which is a command line tool. This built-in application offers a direct way to connect to your remote Linux server with a high level of security and control.
To further clarify, consider an example. Imagine your target IP address is "10.143.90.2" and your username is "jayesh." The syntax to connect via SSH would be similar to the following command, entered in your terminal:
- Exploring The Vision And Impact Of Jorj Awatramani Company
- Simon Cowell Funeral A Tribute To A Legendary Music Mogul
bashssh jayesh@10.143.90.2
Of course, the exact command will vary according to your specific set up. This assumes that your device is configured to accept SSH connections, that you have correctly entered the correct IP address, username and the related SSH key is configured.
Another powerful tool in the realm of SSH clients is Bitvise SSH Client. It is a free, powerful SSH client. It offers a user-friendly interface. Bitvise SSH Server is a complimentary SSH, SFTP, and SCP server for Windows, making it an excellent option for Windows users seeking a secure and versatile solution. It works seamlessly with a variety of SSH clients, including itself, OpenSSH, and PuTTY.
Consider your use case. This might include monitoring a home automation system, accessing data from a remote weather station, or even managing servers from a distant location. Mastering SSH access to your IoT devices is crucial for those seeking to manage remote devices or automate processes. Whether you are on a Raspberry Pi, Ubuntu machine, or Windows device, a properly established SSH tunnel can transform the way you manage your projects.
Let's investigate some concrete steps. First, if you are using an Ubuntu Core device, you will need to connect via SSH and your Ubuntu One account credentials. After this step, you'll often be required to generate an SSH key pair. Then, upload the public SSH key to your account. You can then access your IoT device's SSH server. Using the socketxp local endpoint, you can connect to the SSH server of your IoT device from anywhere. This setup process ensures secure, encrypted access.
Another essential element is port forwarding. Port forwarding allows you to access a service running on your local network (your IoT device) from the internet. This setup, sometimes referred to as "tunneling," lets your device, such as a Raspberry Pi, appear as if it's directly connected to your local machine, even though it's located elsewhere.
In instances where your network does not allow incoming SSH connections due to a firewall or other configuration, you can still establish a secure tunnel. The technique of using reverse SSH tunneling is useful in these situations. This enables your remote device to initiate a connection back to a more accessible server that you control, such as a server running in the cloud. With a reverse SSH tunnel in place, you can then access your IoT device through the cloud server as an intermediary.
Security considerations must be front and center. It is recommended to change the default SSH port, disable password-based authentication (relying solely on key-based authentication), and regularly update the SSH server software. You should also harden your device's firewall to allow only essential traffic, and regularly audit your logs for any suspicious activity. The key will be cleaned up or trashed immediately after the user logs in. This method ensures that no sensitive information is left behind.
With a solid understanding of these fundamentals, you'll be well-equipped to begin your journey into remote access and IoT management. Whether you are using a Raspberry Pi, a Ubuntu server, or a Windows machine, the ability to establish secure and efficient SSH connections will enable you to take full control of your IoT devices.
The following table illustrates the key aspects of setting up SSH access to your IoT devices:
| Aspect | Details |
|---|---|
| Key Generation | Generate an SSH key pair using `ssh-keygen` on your local machine (Windows, Ubuntu, etc.). This typically creates a private key (keep it secure) and a public key. |
| Public Key Upload | Upload the public key to the authorized_keys file on your IoT device. This allows your local machine to authenticate and connect. |
| SSH Client Configuration | Configure your SSH client (e.g., OpenSSH, PuTTY, Bitvise) with the correct username, IP address/hostname of your IoT device, and the path to your private key. |
| Firewall Rules | Ensure your firewall (on both your local machine and the IoT device) allows incoming SSH traffic (typically on port 22, but can be customized). |
| Port Forwarding (If Required) | If your IoT device is behind a router, configure port forwarding on the router to forward SSH traffic to your device's internal IP address. |
| Testing the Connection | Test the connection from your local machine using `ssh username@your_iot_device_ip`. |
| Security Best Practices | Change the default SSH port, disable password authentication, regularly update SSH software, use strong keys, and monitor logs. |
Let's not forget the power of Windows 10. Many people use Windows 10 machines, and the good news is that Windows 10 has a built-in SSH client, accessible via the command prompt or PowerShell. No extra software is required. For those who prefer a GUI, PuTTY remains a popular choice. For more advanced users, consider using the Bitvise SSH client, as it offers a powerful graphical interface with extra features.
To connect to your remote Linux machine from the Windows command prompt using SSH, you would typically use the following command, adapting the username and IP address to match your setup.
bashssh username@your_remote_ip
This simplicity, combined with the platform-agnostic nature of SSH, is one of its main advantages. You can use SSH from almost any operating system, making it a universal solution.
One key aspect that sometimes gets overlooked is the importance of security. Always use strong, unique passwords. Avoid using the default SSH port (port 22) and change it to a non-standard port. Regularly update your SSH server software. These steps will enhance the security of your connections.
For more in-depth information, consider exploring the official documentation for OpenSSH or Bitvise, or consult resources available from reputable cybersecurity organizations.
Reference: OpenSSH Official Website


Detail Author:
- Name : Lucy Ernser
- Username : wiegand.lewis
- Email : nora.gaylord@nicolas.com
- Birthdate : 1985-03-07
- Address : 83396 Morissette Prairie Port Rosannamouth, WI 96997
- Phone : +1 (520) 627-1465
- Company : Marquardt Group
- Job : Financial Specialist
- Bio : Ut laborum non non quibusdam. Placeat sit non doloribus quia non. Dignissimos itaque velit laboriosam.
Socials
linkedin:
- url : https://linkedin.com/in/walshm
- username : walshm
- bio : Consectetur ullam optio ipsum est ut.
- followers : 420
- following : 862
twitter:
- url : https://twitter.com/mwalsh
- username : mwalsh
- bio : Magnam sit quis quis ab veritatis. Quis hic ipsa sed quis reiciendis voluptates aut. Animi molestias nam architecto aut reprehenderit tenetur.
- followers : 4497
- following : 2633
tiktok:
- url : https://tiktok.com/@walsh2005
- username : walsh2005
- bio : Quisquam ut nostrum qui non voluptatem fuga quibusdam.
- followers : 1470
- following : 268
